Wondering how to make a diy cardboard vr headset without buying a kit? You need cardboard, lenses, magnets, hook and loop fastener and a rubber band. The lenses are the hardest part to get right.
If you are also weighing up ready-made options, read our guide to vr gadgets for smartphones.
| Item | Value |
|---|---|
| Cardboard sheet (minimum) | 22 cm by 56 cm, 1.5 mm thick |
| Lens focal distance that might work | 45 mm |
| Magnets (approximate size) | 19 mm diameter, 3 mm thick |
| Hook and loop strips (approximate size) | 20 mm by 30 mm |
| Rubber band (minimum length) | 8 cm |
| Lens centre spacing in the factory design | 64 mm |
The figures come from Google’s Cardboard build guide (page updated 2024-08-06) and its tolerance page. Figures can change, so check the source before you rely on them.
What you need for a diy cardboard vr headset
Google’s build guide keeps the shopping list short and says everything can come from a garage, a hardware store or online. Here is what it names:
- Cardboard: a corrugated sheet, at least 22 cm by 56 cm and 1.5 mm thick.
- Lenses: the guide calls these the trickiest component.
- Magnets: one neodymium ring magnet and one ceramic disk magnet, about 19 mm across and 3 mm thick.
- Hook and loop fastener: two adhesive-backed strips, about 20 mm by 30 mm.
- Rubber band: at least 8 cm long, to stop the phone sliding out.
- NFC tag (optional): a sticker tag programmed with the URL cardboard://v1.0.0.
The viewer design is open source, so you can read the same measurements that factory makers use. That is useful if you want your homemade viewer to behave like a shop-bought one.
Choosing the cardboard and the lenses
For the body, look for strong, thin cardboard, preferably E flute. Google’s guide suggests a sturdy shoe box rather than a moving box, because thick board is harder to fold and cut cleanly.
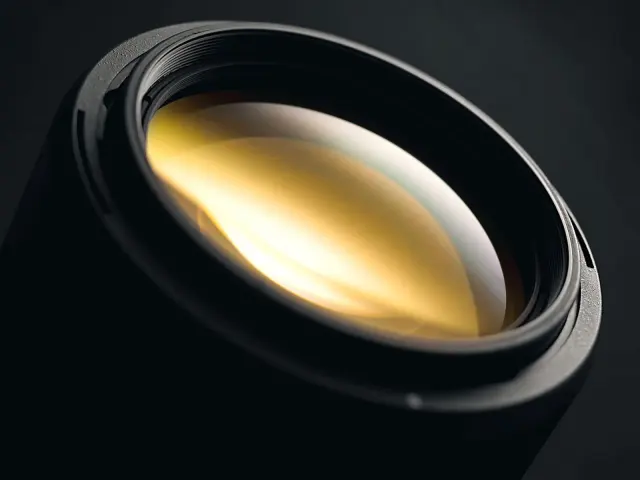
Lenses are where most homemade builds go wrong. The guide says lenses with a 45 mm focal distance might work, and that biconvex lenses work best because they prevent distortion around the edges.
For comparison, the factory lens specification lists a 34 mm lens diameter and an 80° designed field of view. It also says the lenses let the phone sit at short focal distances of 2-5 cm.
How do the button, magnets and phone grip work?
The rubber band adds friction between the phone and the back flap, which reduces the chance of the phone slipping, according to the viewer design specifications. Hook and loop fasteners hold the flaps shut.
The factory button is a cardboard “hammer” with two conductive parts glued to it. The build guide for home makers lists magnets instead and points to a separate download for full instructions, so follow that file for the exact assembly.
Whatever you build, the quality-control page says the button should push down easily and spring back after release.
Getting the fit right for your eyes
The factory design puts the lens centres 64 mm apart, with a tolerance of 0.5 mm either way, according to the tolerance page. The distance from the back surface to the phone screen is listed as 37.3 mm.
The design lists an eye relief of 18 mm, measured from the eye pupil to the lens surface, in the design specifications. Cardboard cannot be re-cut once it is folded, so read how to adjust ipd on vr headset to see what the spacing does before you cut.
If you wear glasses, take a look at a vr headset for glasses wearers before deciding how much room to leave around the lenses.
Test your build before you use it
Manufacturers inspect every viewer, and the same checks work at a kitchen table. The tolerance page describes them in detail. A simple home version looks like this:
- Slide each lens over a high-contrast straight line. Wavy distortion in the line means a bad lens.
- Wipe away anything on the lenses, such as glue, fastener pieces or cardboard chips.
- Press the button. It should go down easily and spring back.
- Look for glue or tape showing at the cardboard edges, and trim or tidy it.
- Open and close the fasteners. The adhesive should not peel off the cardboard.
Finally, the guide’s Viewer Profile Generator lets you add a QR code so every Cardboard app adapts to your viewer. It is worth a look if apps seem to show the picture at the wrong size.
Frequently asked questions
Can I use a shoe box?
Show answer
Yes, in spirit. Google’s guide recommends a sturdy shoe box over a moving box, because you want strong, thin cardboard. The sheet should be at least 22 cm by 56 cm and 1.5 mm thick.
Which lenses should I buy?
Show answer
The guide says lenses with a 45 mm focal distance might work. It prefers biconvex lenses, which prevent distortion around the edges.
Do I need the NFC tag?
Show answer
No. The guide marks it as optional. If you add one, program a sticker tag with the URL cardboard://v1.0.0.
Is the design free to copy?
Show answer
Google describes the viewer specification as open source and available for manufacturers to build. Check the current terms on the source page before you sell anything.